Knitted samples and gauge: the basis of sizing calculations
How are stitches and rows per 10 cm used? Sampling, post-wash measurements and a simple stitch calculation for hand and machine knitting.
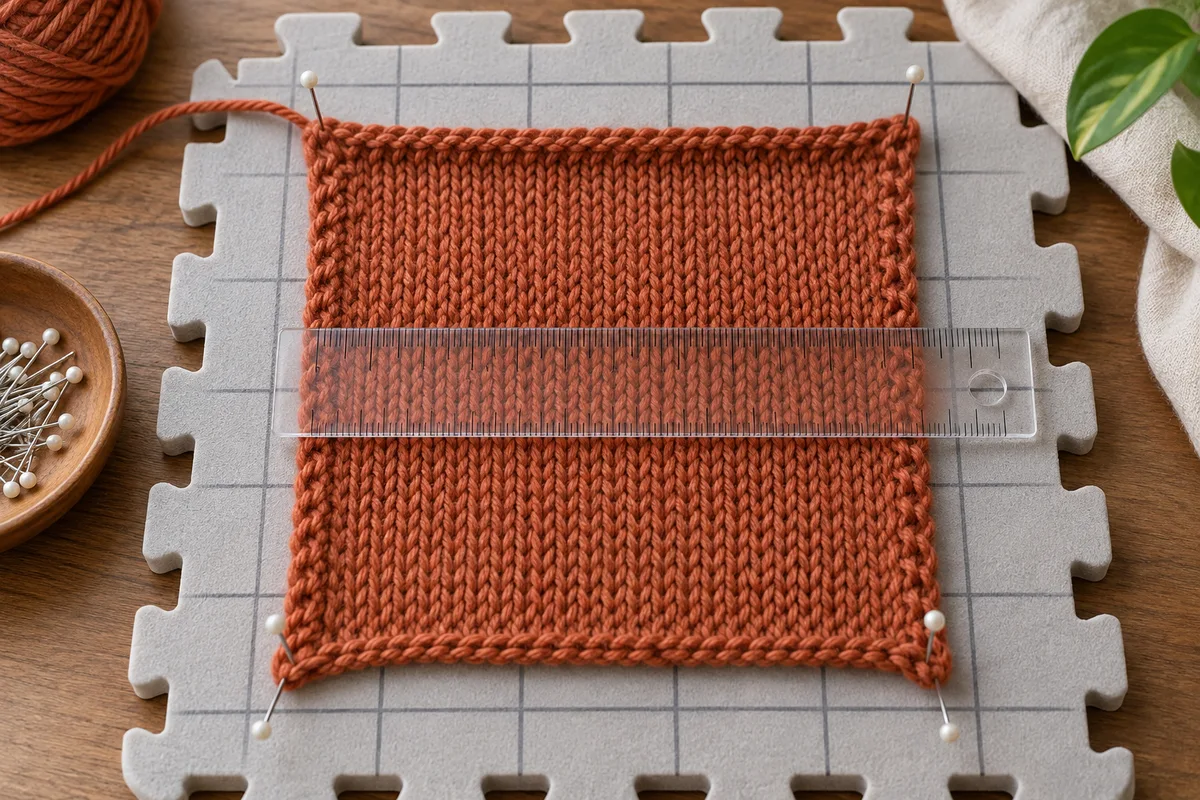
What does gauge describe?
The number of stitches and rows over a specified length describes knitting gauge. Yarn count, needle size or machine settings alone do not determine it. Different knit structures can produce different dimensions with the same yarn. Always record the stitch pattern on which the measurement was taken.
How to prepare the sample
Make a sample larger than the measurement area and measure away from the edges. Reproduce the knitting direction and structure intended for the garment. After the planned washing and finishing, allow the sample to relax and measure again. Keep unfinished and finished sample records separate; one does not replace the other.
A simple calculation example
For example, if a finished sample has 20 stitches per 10 cm, the initial calculation for a straight 50 cm panel is 50 × 20 / 10 = 100 stitches. This is only an example; edge stitches, pattern repeats, shaping and seam requirements must be considered separately. For vertical calculations, use length × rows per 10 cm / 10. Stitch gauge and row gauge are not interchangeable.
Leave a record for the next sample
Keep the yarn code, batch, blend, count, ply, knitting settings and finishing conditions on one form. Do not finalise a jacquard garment’s dimensions from a stockinette swatch; test the actual pattern separately. For Bark Knitwear, an approved physical sample is a more reliable technical reference than a photograph. Bulk-production dimensions are not considered final until sample results are verified.